How to Make Aquafaba
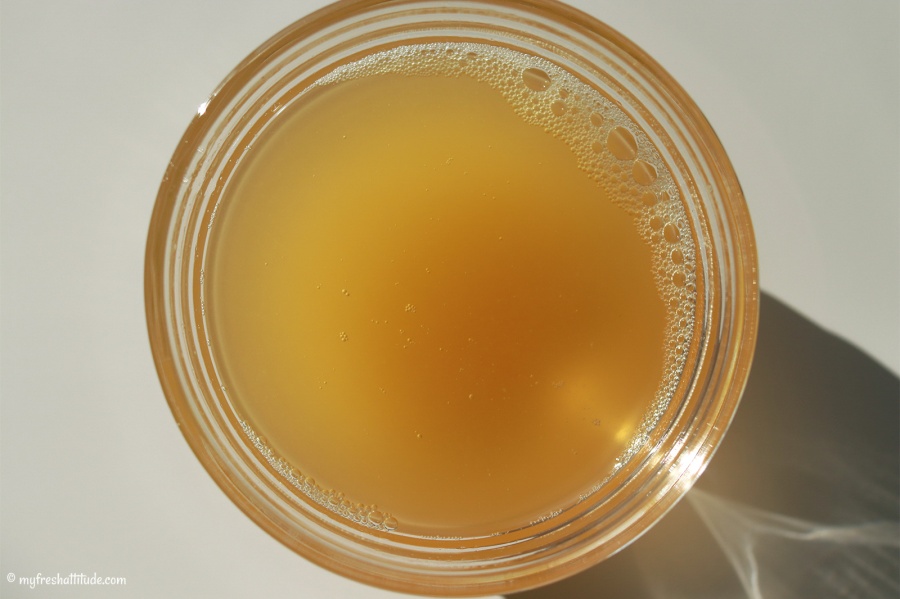
Aquafaba is made from the liquid produced during the process of cooking beans – most notably cooking chickpeas. It can be acquired by draining a can of beans, which is the quickest way to get started. But, the best aquafaba is homemade because you are in control of the ingredients and the viscosity seems to be a bit better, and this yields a stronger and more stable foam. I also think the taste from aquafaba coming from canned chickpeas tastes a bit like…well, chickpeas (not necessarily good when making meringues).
Subscription Required For This Content
Aquafaba is made from the liquid produced during the process of cooking beans – most notably cooking chickpeas. It can be acquired by draining a can of beans, which is the quickest way to get started. But, the best aquafaba is homemade because you are in control of the ingredients and the viscosity seems to be a bit better, and this yields a stronger and more stable foam. I also think the taste from aquafaba coming from canned chickpeas tastes a bit like…well, chickpeas (not necessarily good when making meringues).
By following the instructions below for making Aquafaba, you will make a product which is consistent in how it works in recipes, and you will get a lot more bang for your effort because you will simply make more than if you were making your Aquafaba from the liquid coming from a can of beans.
I started my Aquafaba experiments from canned chickpeas just to see how well it worked. It didn’t take me long to come up with a method to make my own – especially since I make a lot of chickpeas! Most references I’ve seen caution you to stay away from using a pressure cooker. I don’t agree. I think a pressure cooker (if you have one) will work much quicker, your chickpeas will cook evenly and taste better and your aquafaba will turn out great.
Making Aquafaba from Canned Beans
There will be times you will want to use this method because…well, it’s just convenient. The thing to remember about canned beans is there will be salt in the beans and liquid, so make sure you rinse the beans very well to reduce the impact of the salt taste. Unfortunately, you won’t be able to get rid of the salt in the liquid so just try and find a can of chickpeas with little or no salt. You should also know the liquid from canned chickpeas is diluted, which is why you will need to reduce the liquid a bit before using it. Here’s how…
Drain your chickpeas and keep the liquid (obviously). Make a note of the amount you have, then place the contents in a small saucepan. Heat the liquid over medium-high heat and reduce the contents by one third. Make sure you completely cool the liquid before using it!
Making Aquafaba – stove-top method
This method requires a bit of advanced thought because you need to soak the dry beans overnight before cooking them. You will also need about 2-4 hours’ time to completely cook the beans, so plan accordingly if you are using this method.
I suggest starting with a small quantity to see how well it works. Soak 200 grams dry chickpeas overnight. Make sure to add 1/2 teaspoon baking soda, which helps the chickpeas cook evenly and a bit quicker. After the soaking period, drain and rinse the chickpeas and place them in a large pot. Cover with one liter of water and add 1 2,5-cm piece of kombu (The kombu is optional – some say it helps with the viscosity in the finished aquafaba. I haven’t tested this, but it sounds reasonable and certainly can’t hurt). Bring the water to a gently boil and skim off all the foam that will accumulate on the top. You will need to do this during the first 2 minutes of cooking. Reduce the heat to a gentle simmer, cover the pot and simmer for 1-2 hours (perhaps even longer). The beans should be soft enough to squish easily between your fingers. When you have come to this point, remove the kombu and drain the chickpeas – keeping them for another use – while making sure to keep all the liquid. Strain the liquid well into a clean container and measure the amount. You should have 600 ml. of high grade aquafaba. Add more water to reach this amount if you have too little. If you have too much, you will need to gently simmer the aquafaba and reduce the amount you have until it reaches 600 ml.
Making Aquafaba – pressure cooker method
Using the pressure cooker is my preferred method. I have never had an issue with my finished aquafaba, so I can recommend this method to anyone who has a pressure cooker. Like the stove-top method, you will need to plan one day in advance because you will need to soak the beans as instructed above for one day. Once the beans are soaked, drain and rinse the beans well, then add them to your pressure cooker. Add your kombu piece (as above) and 1 liter of water for 400 grams chickpeas (twice as much as before because you will not lose much liquid to evaporation). Place the pressure cooker bottom on a stove-top and bring the water to a boil over medium-high heat. Be sure to spend the first two minutes skimming the foam that will form on the water surface. Once most of the foam has been removed, place the pressure cooker top on the pot and seal. Bring the pressure to high, reduce the temperature to maintain the pressure and set a timer for 30 minutes. Allow the pressure to naturally release after the cooking period – this will take about 10 minutes. Drain the chickpeas -keeping the liquid and reserving the chickpeas for another use. Discard the kombu, then strain the liquid into a clean large measuring container. You should have 600 ml. of premium aquafaba. Add water if your amount is too little, or gently reduce the amount to reach 600 ml.
Storage
Cool your aquafaba well before refrigerating. It will keep 3-5 days in the refrigerator stored in an airtight container. You can also freeze whatever amount you do not immediately need. I like to put the aquafaba in small plastic containers and freeze them solid. I will then remove them and place in a zip-lock bag. You can keep frozen aquafaba for about 6 months. Be sure to smell aquafaba before each use: if it smells a bit like spoiled beans, then toss it.